
Mastering Unique Embroidery Techniques for Custom Designs

Embroidery transforms fabric into art. I focus on mastering unique embroidery techniques to create custom designs that stand out. Whether for branding, gifts, or personal projects, the right technique makes all the difference. I share practical insights to help you achieve professional results.
Exploring Unique Embroidery Techniques
Unique embroidery techniques add texture, depth, and personality to your designs. I use a variety of stitches and methods to bring ideas to life. Some techniques work better on certain fabrics or for specific effects. Understanding these options helps me choose the best approach.
Satin Stitch: Smooth and shiny, perfect for bold shapes and letters.
Chain Stitch: Creates a linked, textured line ideal for outlines.
French Knots: Small, raised dots that add dimension and detail.
Appliqué: Attaching fabric pieces to create layered designs.
3D Puff Embroidery: Adds volume for a raised, eye-catching look.
Each technique requires different tools and thread types. I select materials that complement the design and fabric. This ensures durability and a polished finish.
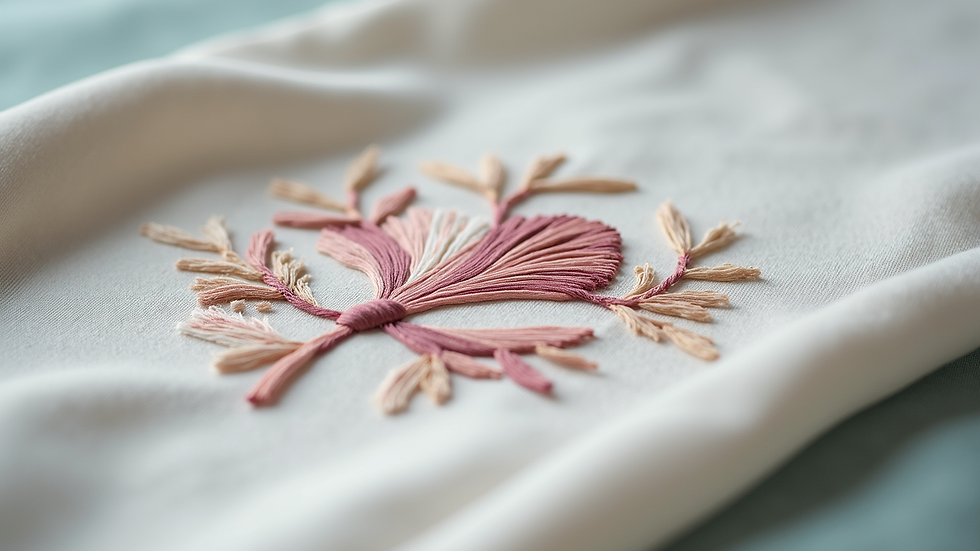
What are the different types of custom embroidery?
Custom embroidery comes in several forms, each suited to different needs. I break down the main types to help you decide which fits your project.
Flat Embroidery
The most common type. It uses basic stitches to create flat designs. Ideal for logos and text on shirts, hats, and bags.
3D Puff Embroidery
Uses foam under the stitches to raise the design. Great for caps and patches that need a bold look.
Appliqué Embroidery
Involves sewing fabric shapes onto a base fabric. It adds color and texture beyond thread alone.
Cutwork Embroidery
Removes fabric sections to create lace-like patterns. Best for decorative textiles and fashion.
Metallic Thread Embroidery
Uses shiny threads for a luxurious effect. Suitable for formal wear and special occasions.
Free-Motion Embroidery
Allows for creative, freehand stitching using a sewing machine. Perfect for artistic and custom pieces.
Knowing these types helps me tailor the embroidery to the design’s purpose and fabric type.
Tools and Materials for Custom Embroidery
Choosing the right tools and materials is crucial. I rely on quality supplies to ensure clean, lasting results.
Needles: Different sizes for various thread thicknesses and fabric types.
Threads: Polyester for durability, cotton for softness, metallic for shine.
Hoops: Keep fabric taut to prevent puckering.
Stabilizers: Support fabric during stitching, especially for stretchy or thin materials.
Scissors: Sharp and precise for trimming threads and appliqué pieces.
I always test materials on a fabric scrap before starting the final piece. This prevents surprises and ensures the best outcome.

Step-by-Step Guide to Creating a Custom Embroidery Design
I follow a clear process to produce high-quality embroidery designs efficiently.
Design Concept
Start with a clear idea or logo. Sketch or use digital software to finalize the design.
Choose Fabric and Thread
Match fabric type with thread color and texture. Consider the end use and washing requirements.
Prepare the Fabric
Wash and iron fabric to remove wrinkles. Attach stabilizer and hoop the fabric tightly.
Transfer the Design
Use tracing paper, water-soluble pens, or digital embroidery machines to transfer the pattern.
Select Stitch Types
Decide which stitches suit each part of the design for texture and durability.
Start Stitching
Work carefully, maintaining even tension. Change thread colors as needed.
Finishing Touches
Trim excess threads, remove stabilizer, and press the fabric gently.
Following these steps ensures a professional finish every time.
Tips for Maintaining Embroidery Quality
Embroidery quality depends on care before, during, and after stitching. I apply these tips to keep designs sharp and durable.
Use high-quality threads to avoid fading and breakage.
Stabilize fabric properly to prevent distortion.
Avoid overloading the fabric with dense stitching.
Wash embroidered items inside out on gentle cycles.
Air dry or use low heat to protect threads.
Store embroidered items flat or folded carefully to avoid creases.
These practices extend the life of embroidery and keep designs looking fresh.
Elevate Your Brand with Custom Embroidery
Custom embroidery adds professionalism and personality to your products. I help businesses and organizations in Iloilo City create unique branded apparel and merchandise. Fast turnaround and affordable pricing make it easy to enhance your image.
Using custom embroidery techniques tailored to your needs, I deliver quality that stands out. Whether you want embroidered shirts, caps, or bags, the right technique makes your design memorable.
Investing in embroidery is investing in your brand’s identity. I focus on precision and creativity to help you achieve that.
Mastering unique embroidery techniques requires practice and attention to detail. By understanding different stitches, materials, and processes, you can create custom designs that impress. Use the tips and steps I shared to elevate your embroidery projects and meet your goals efficiently.


Comments